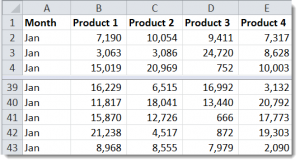
This is Part 2 in my series of video tutorials demonstrating the Commands found on the View Tab of the Excel Ribbon. Building on the concepts that I demonstrated in Part 1 (“How to Freeze Row and Column Labels While Scrolling in Excel”), I now show you how to save these settings as a Custom View.
Create a Custom View in Excel
- Display the settings that you wish to save as a Custom View – e.g. Changing the ZOOM Level of Magnification, Freezing Rows or Columns, etc.
- From the View Tab on the Ribbon, choose the Custom Views Command.
- In Custom Views Dialog Box, click Add; Give your View a Name and Click OK.
- Remember to Save your Excel Workbook. To test your custom view, I recommend that you revert to your normal or default view and save that version. Then close the workbook and reopen it. Now, it will display the last view displayed when you saved the workbook. Click on the Custom Views Command and select the Custom View that you recently added; the Custom Settings will now display.
- Add – and Save – additional Custom Views.
Custom Views are Worksheet Level Views
When you create a Custom View, it only applies to the Excel Worksheet where you created it. In fact, while you “Show” a Custom View, all other Worksheets in the Active Workbook are NOT available.
Excel Tables and Custom Views
There is one “gotcha” with Custom Views. If you have formatted a data set as an Excel Table on ANY worksheet in the workbook, ALL Custom Views are blocked out. Watch this video to see how to “work around” this roadblock.
Online Shopping at The Company Rocks
I invite you to visit my secure online shopping website – http://shop.thecompanyrocks.com – to preview all of the resources that I offer you.
Watch Tutorial in High Definition
Follow this link to view this Excel Tutorial in High Definition on my YouTube Channel – DannyRocksExcels
Play Video Now


